If you’re a marketer or SEO, you likely already know about the importance of title tags and meta descriptions to help improve your rankings. But as with most things in marketing, going a little further can reap much better results.
While most marketers stop at title tags, using advanced meta tags can help you communicate to Google which landing pages on your websites are most important and, in the process, improve your rankings.
In this article, I’ll share four advanced HTML tags that can help you improve the rankings of your most valuable and highest-converting pages.
1. Robots (<meta name= “robots”>)
The meta robots tag gives site owners control over whether Googlebot crawls and indexes their pages. Site owners can use robots directives to give Googlebot specific crawling and indexing instructions. The primary robots directives include:
- “index, follow”: Tells Googlebot to crawl and index the page normally
- “index, nofollow”: Tells Googlebot to index the page but to ignore the links on the page
- “noindex, nofollow”: Tells Googlebot not to index the page or follow the links on the page
Here is an example of a robots tag with the “index, follow” directive.

Many site owners default to “index, follow” on every web page of their site thinking they can only benefit from Google crawling all of them. But not all of our web pages need to rank. If there’s a page with low quality or out of date content, it’s unlikely to convert visitors and can hurt your reputation according to Google and other search engines.
Adding nofollow, is a proactive approach to ensuring pages that aren’t high quality aren’t seen or discovered naturally through search.
Here are some examples of when you might want to add the robots “noindex, nofollow” meta tag to specific pages on your site.
- When the page is unimportant or has thin content (and therefore is unlikely to rank well.)
- For product pages that are seasonal, have low inventory, or out-of-stock items.
- Enterprise sites that have limited crawl budget and need to ensure their higher-converting pages are crawled and indexed.
- When the page lacks conversion potential (e.g. admin pages, login pages, confirmation pages, etc.)
Consider performing a site wide content audit, and adding “noindex, nofollow” to pages that fall under the above criteria.
How to add the robots tag
There are two ways to harness the power of robots tags to guide search engine crawlers to your most important pages:
By adding robots meta tags to individual pages or creating and uploading a robots.txt file.
The first is most useful if you want to add robots tags to single pages.
Here’s how to do it.
If you’re using a popular CMS like WordPress or Wix, there are plugins that make it easy to specify your preferred directive on the frontend without having to even look at a single line of code. That said, if you have dev resources you can have them help you out as well. If you’re short on team resources and not very technical yourself, using a plugin such as Yoast is a great start.
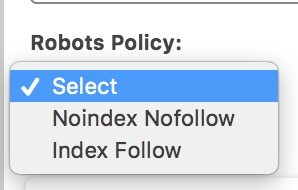
If you want to add meta tags to the HTML page yourself, you can write your code in a text editor or use a meta tag generator tool like below. Again, it’s very important you don’t go making massive changes if you’re unsure what you’re doing.
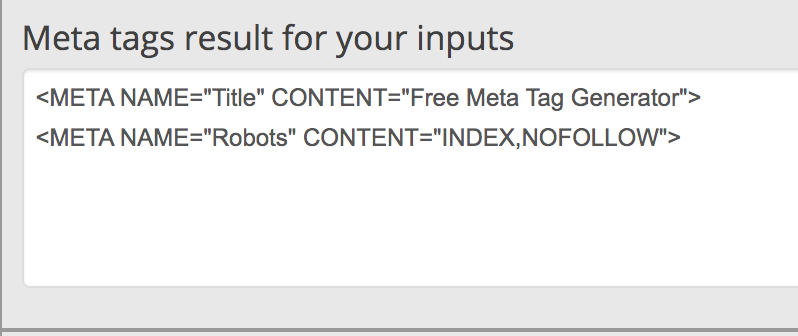
Then, copy and paste that code in the <head> section of your HTML page.

If you’re wanting to prevent crawling or indexing for multiple pages or an entire section of your site, it’s much more efficient to do so via a robots.txt file. Here’s how to do so:
1. Generate the text for the robots.txt file. If you want to write the code yourself in a text editor you can, but in my experience it’s much easier and cost effective to use a tool. Here’s a free robots.txt generator you can use.
2. Make sure you add your xml sitemap to the robots.txt file so Google’s crawlers easily find it.
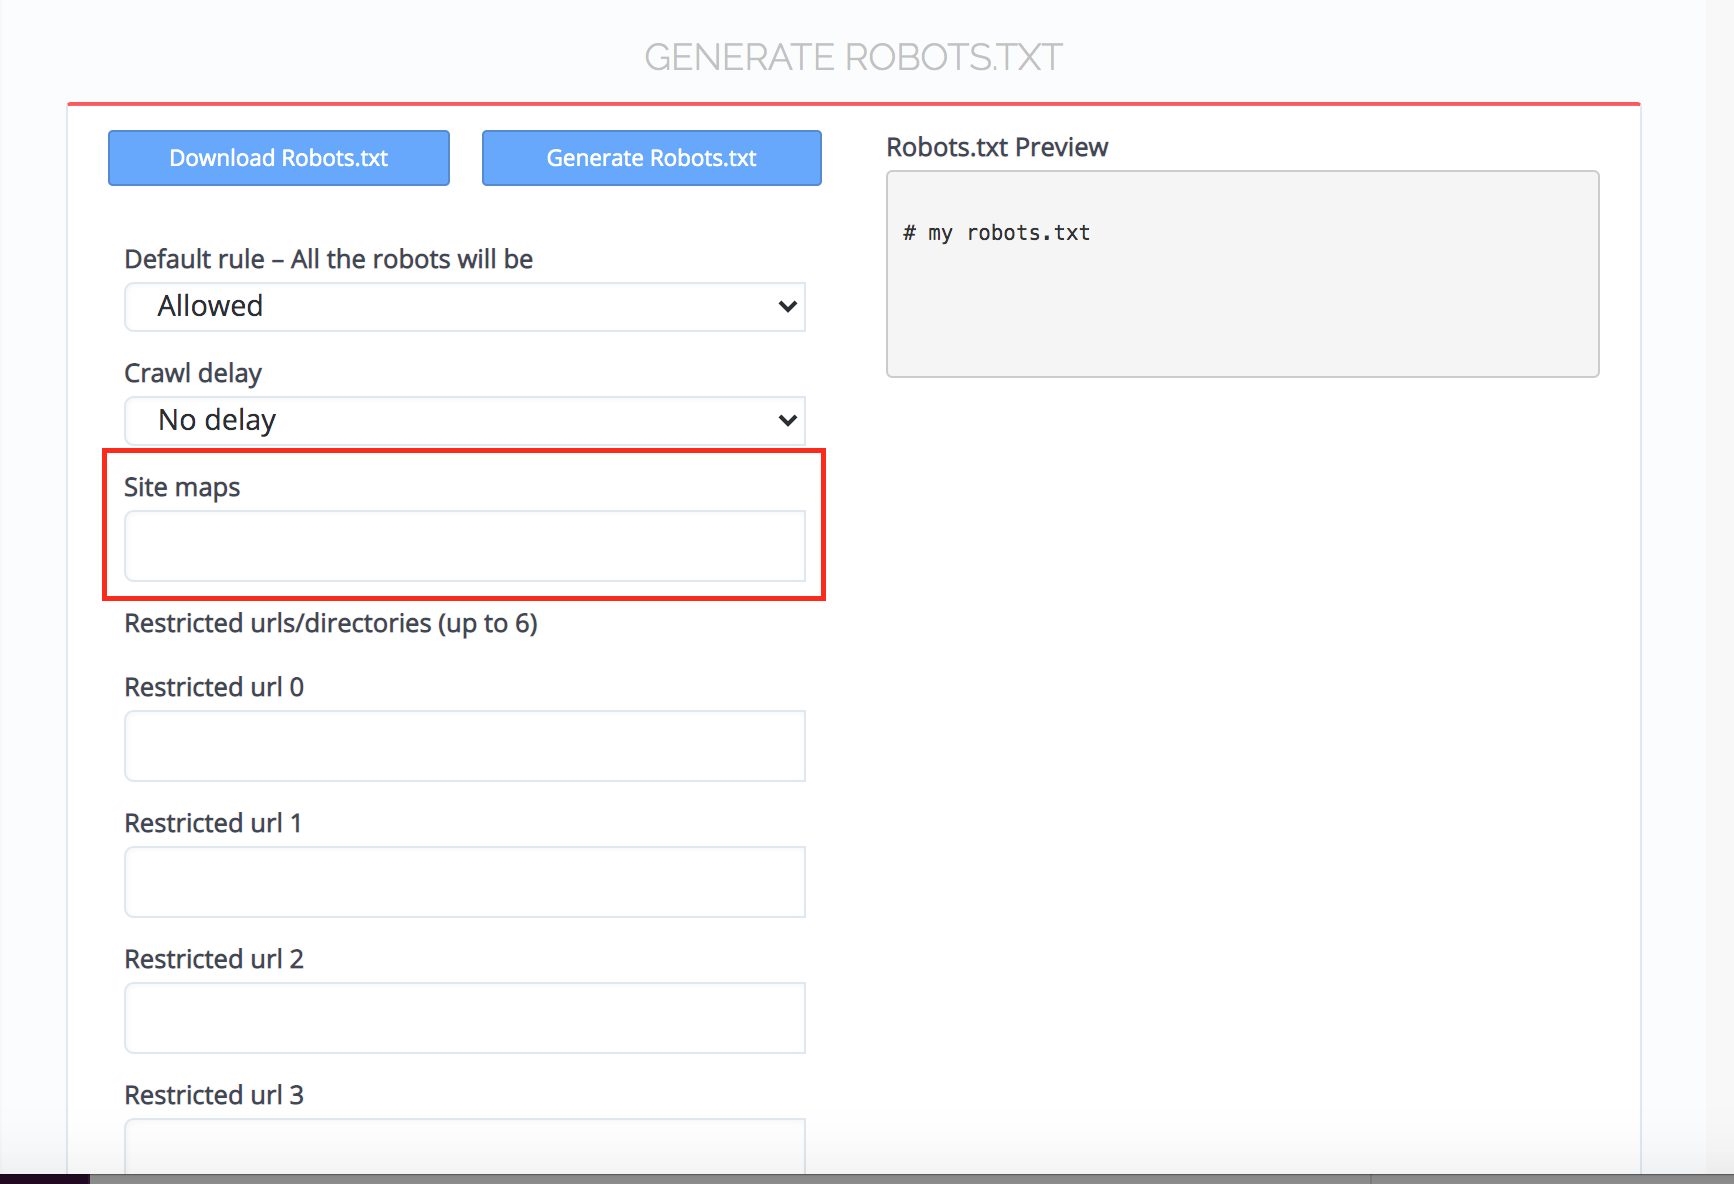
3. Upload your file to the root directory of your website.
4. Test your file with a robots.txt tester. These tools operate like crawlers and will test whether Googlebot will ignore the pages specified in the file
Again, the major benefit of robot tags is that you can encourage Google to index your higher performing pages.
The higher the number of landing pages on your site, the more impactful robots can be. For enterprise websites that may max out their crawl budget, these tags can prevent your most important pages from going unindexed.
2. Rel canonical (rel=”canonical”)
The purpose of the rel=”canonical” tag is to communicate to Google which version of a landing page is the highest quality. Or, to put it another way, the version that you want Google to promote in search results.
Generally speaking, Google doesn’t like duplicate content and is less likely to rank your web pages if it believes they are too similar. But there are many legitimate cases in which similar content is required. For example, many product pages might be similar with just a few minor tweaks.
Here is an example of what a rel canonical looks like in HTML:

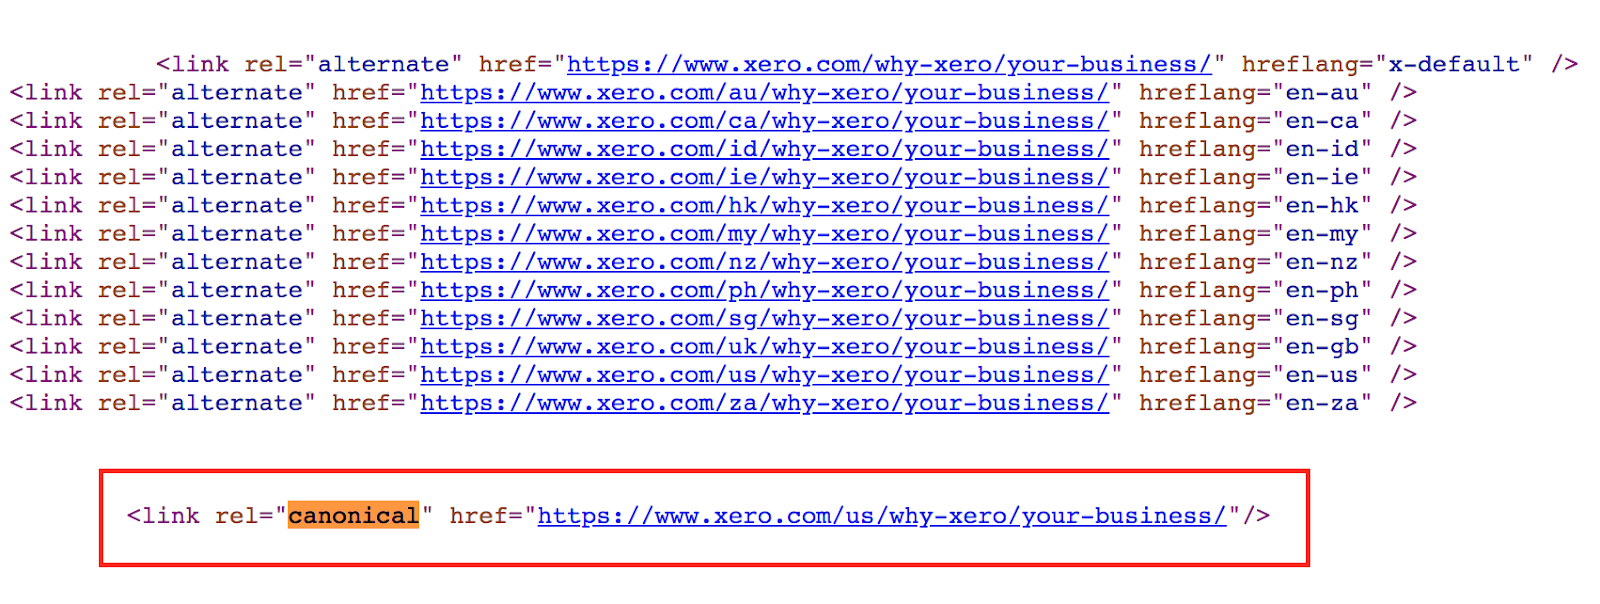
The rel canonical tag points to the canonical url, or the url that represents the ‘master version’ of the page. In the above example, “https://www.xero.com/us/why-xero/your-business/” is the canonical url.
When Google crawls the web page where this attribute is located, it will understand that it’s a duplicate version of the master. Also, by knowing that the canonical url is the preferred one, Google will generally promote that web page more often in relevant search queries.
Here are some ideal use cases for this tag:
- When you have multiple versions of the same landing page.
- When you have landing pages with thin or very similar content (i.e. product pages.)
- For publishers who syndicate content.
- Ecommerce sites who programmatically build out landing pages for every city or state such as Lyft with airport content.
How to add rel canonical tags
There are different SEO theories as to whether or not to add rel canonicals on every page of your website. That said, not using Rel canonicals is a decision in itself. If you don’t suggest to Google which version of your landing page is the master, its crawlers will assign canonical urls for you.
For that reason, I typically recommend adding canonicals to all of your landing pages. Canonical urls are also crawled more regularly by Googlebot, meaning Google will see those updates or optimizations you make to your important pages sooner.
Here’s how to add rel canonicals:Choose which version of the landing page you want to be the master. I recommend the page that has the highest-quality content and is most likely to rank well and convert visitors.
1.) Choose which version of the landing page you want to be the master. I recommend the page that has the highest-quality content and is most likely to rank well and convert visitors.
2.) Add a self-referencing canonical link on the master page. Again, not all SEOs agree that you need a self-referencing canonical, but in my experience it can be worth it.
Here’s a Microsoft web page that includes a self-referencing canonical.
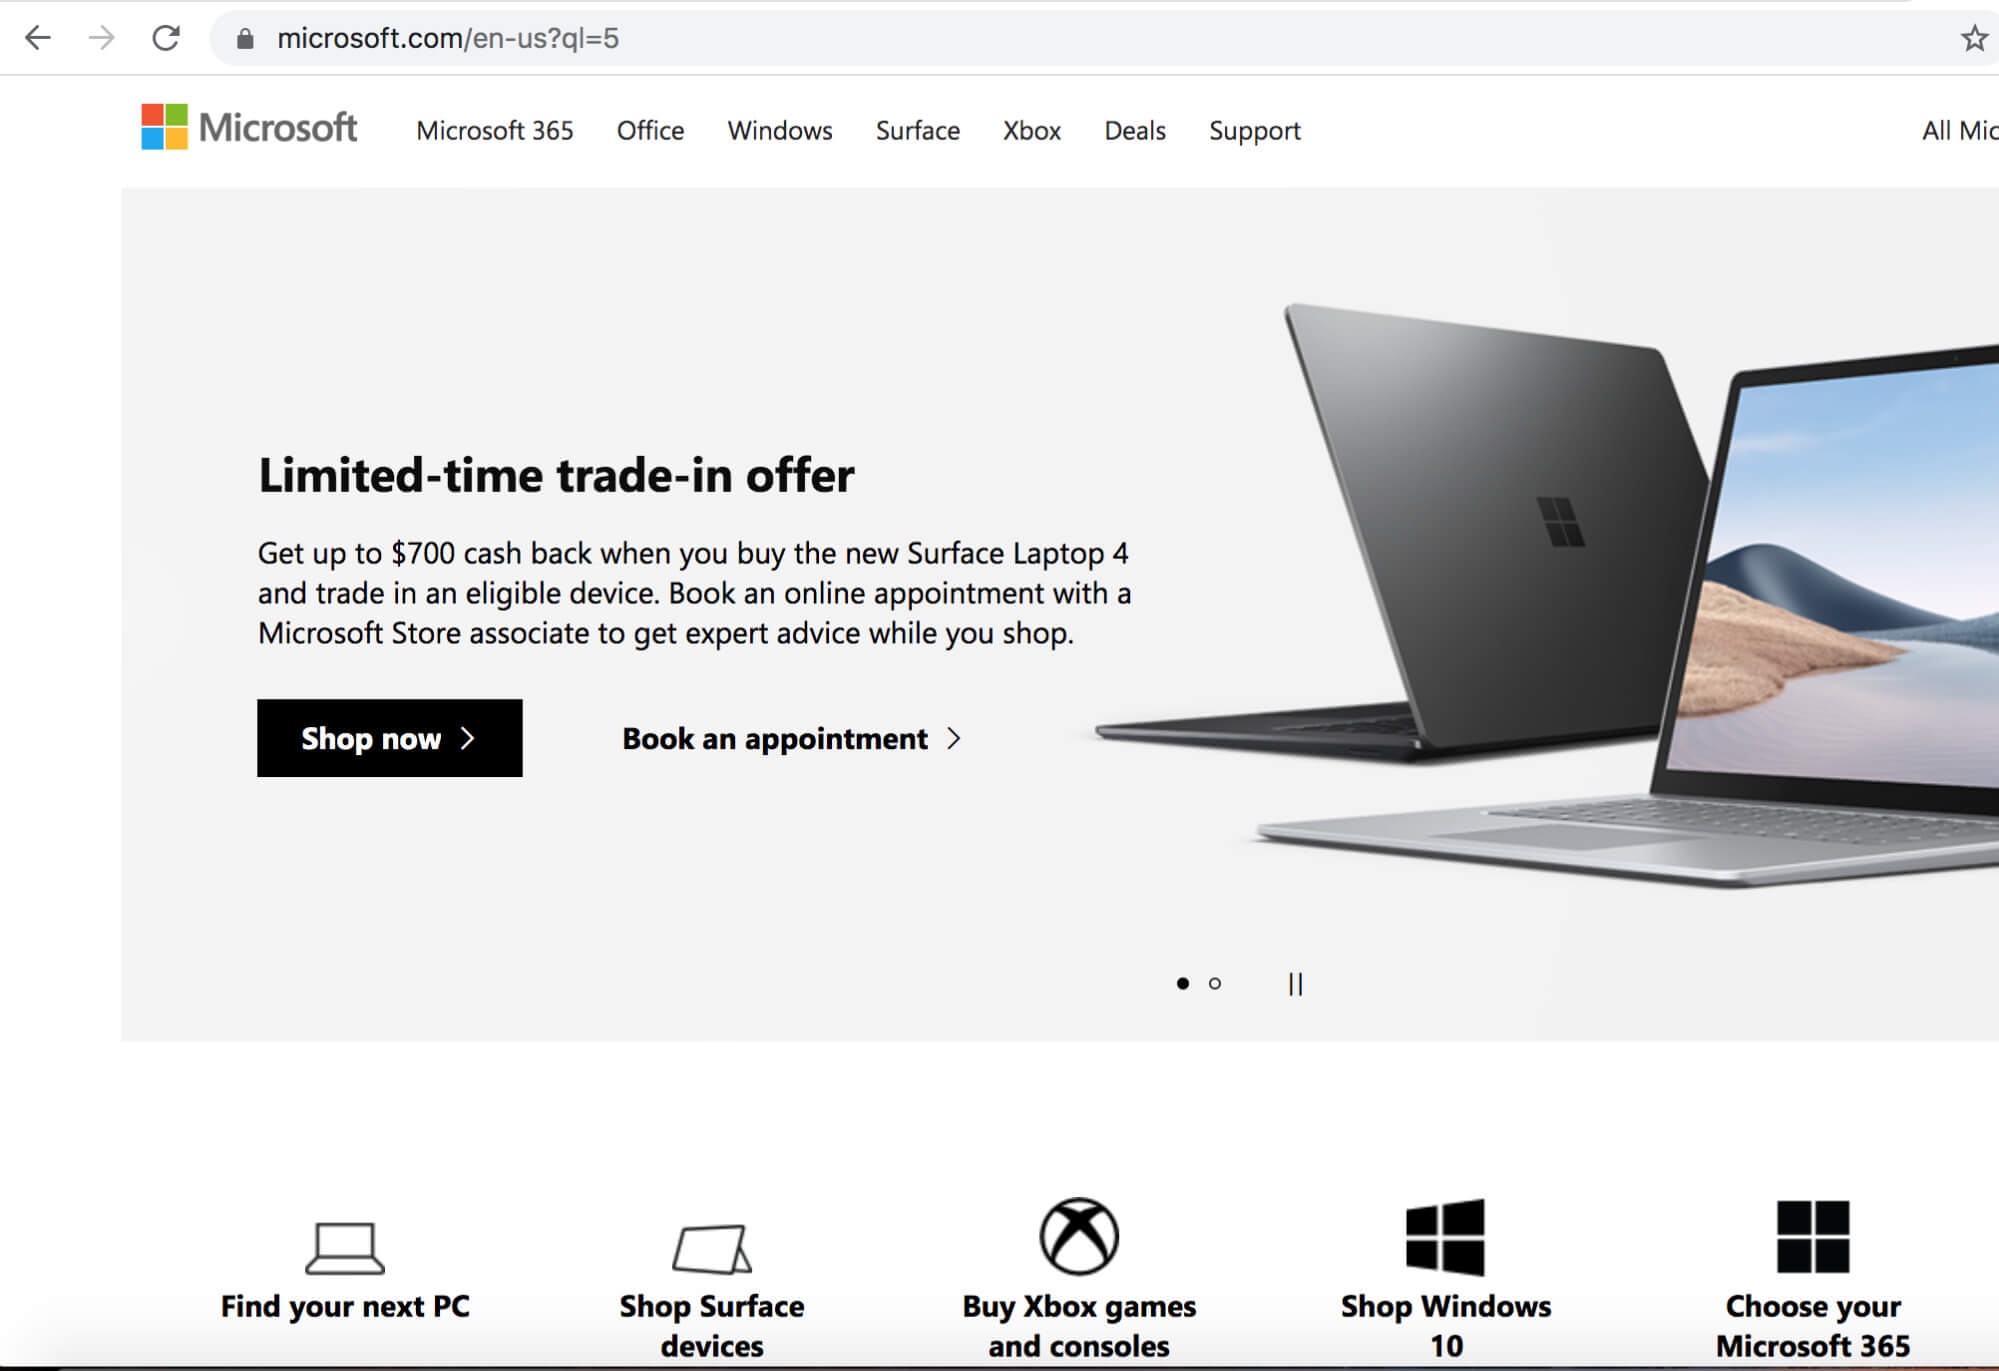

3.) Add identical canonical tags to all of the similar pages. You can use a rel canonical generator (here’s an easy, free one) or write the code in a text editor. Rel canonicals should be placed in the <head> section of your website along with your other meta tags.
Like robots tags, rel canonicals give you the ability to help influence which pages Google shows to searchers. Taking these extra steps with your technical SEO can have a significant impact on conversion rates across your website.
3. Hreflang (rel=”alternate” hreflang=”x”)
If your website serves international markets and has language variations of the same landing page, the hreflang tag is very powerful for both SEO and conversion optimization.
Google uses a browser’s location to understand the user’s language intent. The hreflang tag specifies whether a page has different language variations, so Google will then show the user the version of the page based on their geographic region or preferred language.
If your website is targeting search terms that have a global audience, hreflang tags can help ensure the appropriate content is to show to the most relevant audience and in the process improve your rankings.
 A landing page with multiple hreflang tags
You can use hreflang tags in situations unrelated to languages specifically as well. Hreflang tags can point to pages with content that is in the same language but has regional variations.
In the above example, the alternate pages are all in English (en), but the site owner is telling Google to show different versions of the landing pages that have been tailored to major markets in Australia, Canada, Indonesia, and others. Some of those locations still serve marketers in English, but the region impacts which content should be shown.
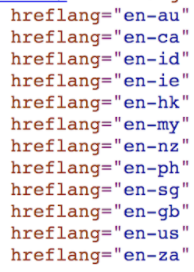
Like rel canonicals, hreflang tags instruct Google to show specific urls over others. For this reason, if you utilize both, you want to make sure you don’t send Google’s crawlers conflicting instructions. Here are a few tips:
- If your canonical tag identifies another page as the canonical url, but your hreflang identifies several language variations of the current url, Google is not going to understand which page to promote.
- In general, only add hreflang tags to your web pages that have self referencing canonicals.
It’s for these reasons that the above hreflang tags are located on a page with a self-referencing canonical.
How to add Hreflang tags
Before you add hreflang tags, you need to create the language variations or regional variations of your page. This is arguably the most time-consuming part of the process. The differences in those pages will be best determined by your own content and marketing teams.
Once your variations have been created and published, you can use hreflang to ensure Google shows each individual searcher the version of the page that is most tailored to them.
There are two ways to go about this: 1) Adding hreflang tags to individual pages, or 2) Specifying language variations in your sitemap.
To add the hreflang attribute to individual pages, do the following.
- Determine which is your default url and all of the urls with language or regional variations (your variations don’t have to be in the same domain).
- Write your hreflang tags in a text editor or using a hreflang generator tool.
- Each hreflang tag needs to have a specific HTML language and country code, so make sure to confirm your language and regional attributes are accurate.
- Add the hreflang link elements to the <head> section of your default url (you should have one link element per page variation)
- Add identical hreflang link elements to the <head> section of each of the language or regional web page variations
- Ensure that any rel canonicals on those web pages are self-referencing
You can also communicate to Google your language variations by adding hreflangs to your sitemap. However if you have hundreds of language variations, this can be a time consuming process.
- Designate the language variations below the default url in your sitemap using the xhtml:link attribute. Your sitemap will look like this:

- Any alternative url that you specify with the xhtml:link attribute now also needs to be added to your sitemap (along with all of its variants).

- If you only have one page with a language variation, this can be done very quickly. But if you’re an enterprise level site with hundreds of language variations, this process can take a long time.
Overall, hreflang has a lot of SEO benefits. First of all, it improves the user experience, which can lower bounce rates, improve page sessions, and increase scroll depth. Additionally, if you have an international website, hreflang tags can also drastically improve conversion rates of the visitors you earn from organic search.
4. Schema.org (Shared Vocabulary of microdata)
Schema.org markup is a shared vocabulary of microdata that is supported by most major search engines. For Google, schema tags help crawlers easily extract data and display it more prominently in the SERPs via their user-focused rich results.
Google now has over 30 different types of rich results, and they are all designed to make your SERP result more clickable for the user. If your web page content aligns with a rich result type, there’s no reason not to be utilizing the subsequent schema.org markup.
Here are some examples of common rich results in Google.
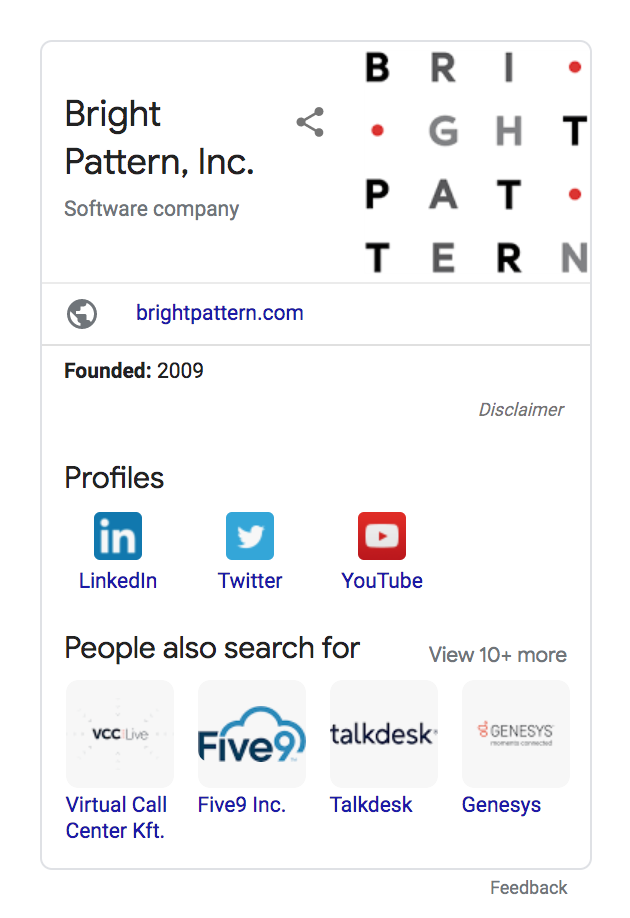
Example of “Organization,” rich result.
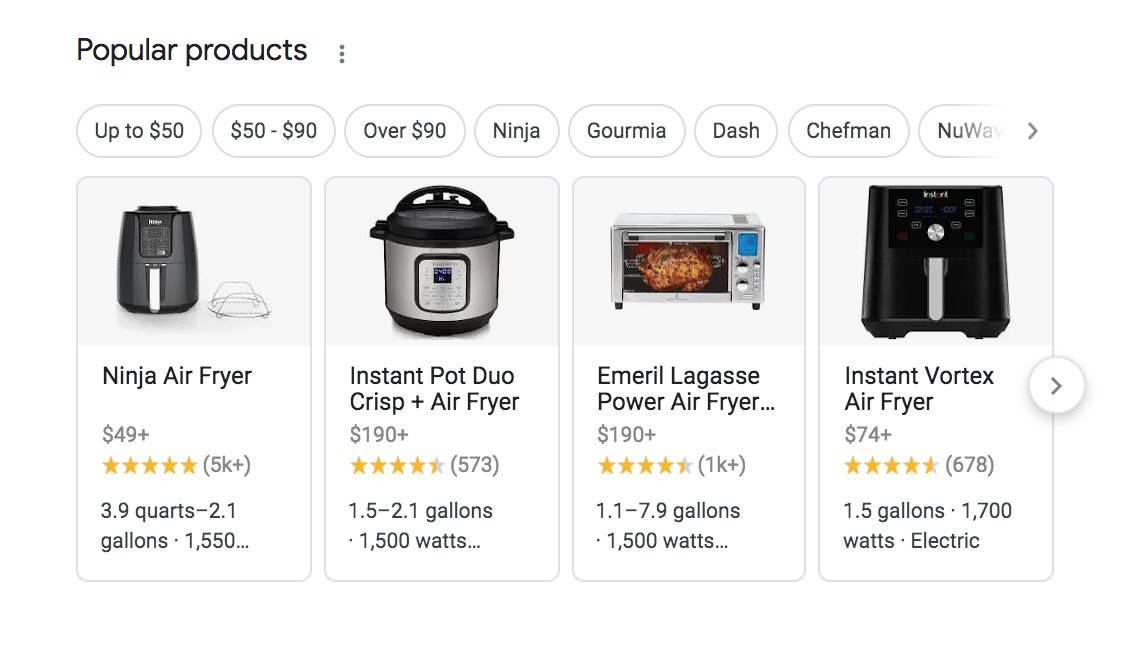
Example of “Products” rich result.
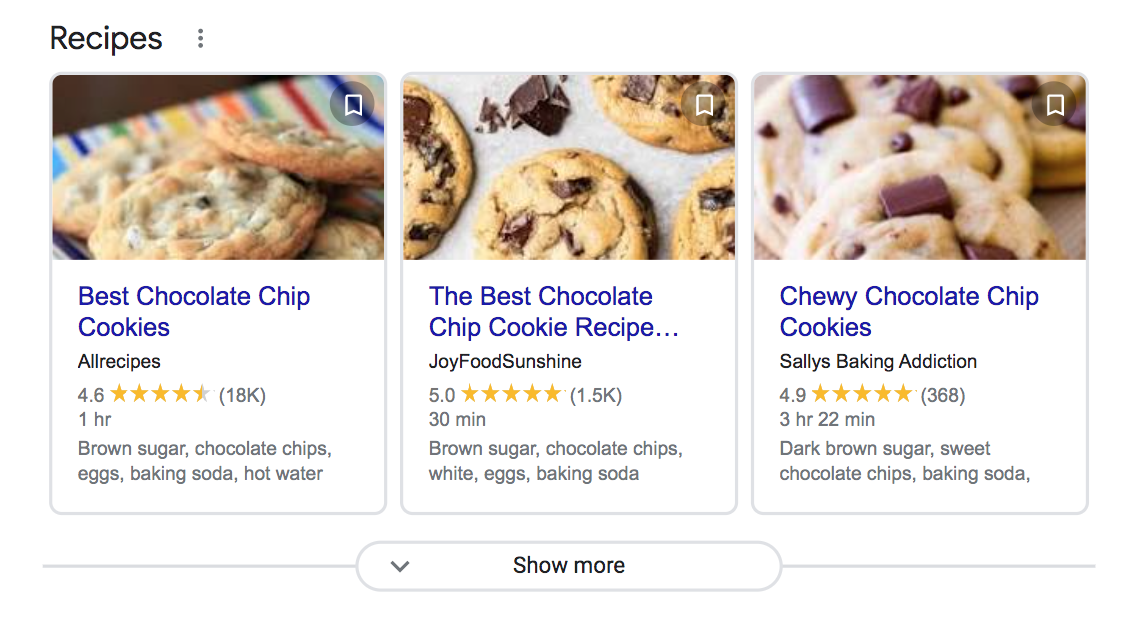
Rich results for the search query “chocolate chip cookie recipe”
And here’s what the schema.org markup for that first recipe result looks like on the backend. Without this markup, the page would not have appeared in this prominent SERP placement.
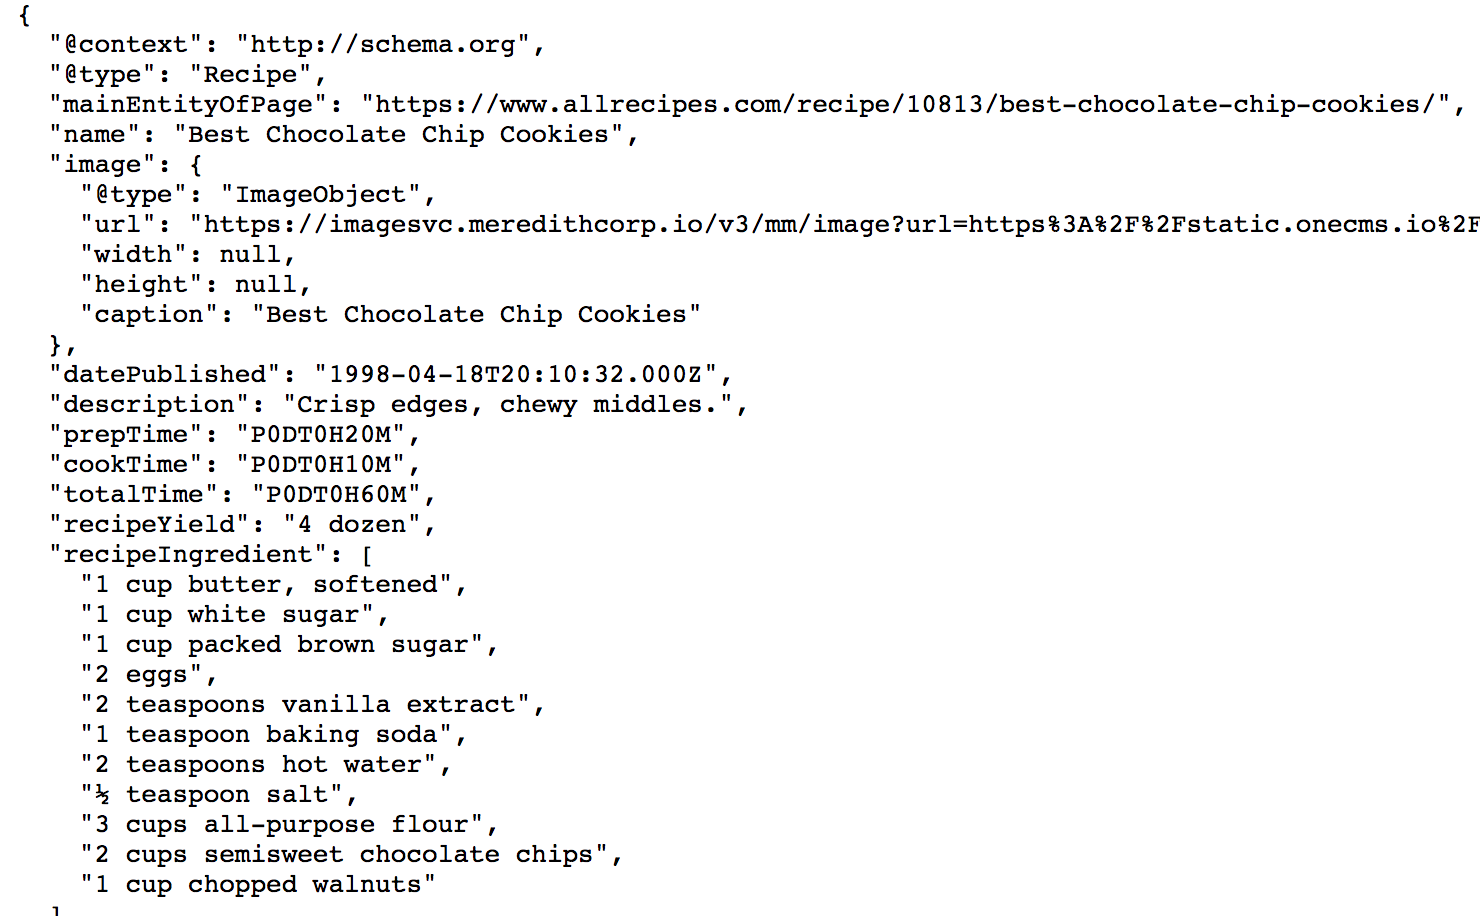
The JSON-LD markup for a Recipe rich results
Schema.org markup is still an under-utilized optimization. It’s estimated that less than 1% of the web pages in Google’s index utilize schema, meaning adding these tags to your website can give you a huge advantage over your competitors in the rankings.
How to Add Schema.org Markup
Because every schema.org markup has different item properties and utilizes JSON-LD rather than traditional XML structure, adding schema.org isn’t necessarily a casual undertaking.
For that reason, I strongly recommend working with a skilled web developer or utilizing a schema generator tool.
If you want to try adding schema.org on your own, here is the simplest way to do so:
- Determine which type of rich result you desire for your web page (Here is a complete list). Make sure that your web page content naturally aligns with the rich result and you can identify all of the required item properties.
- Use a schema generator tool. Most of these tools function the same way. Choose your rich result, input the required item properties, and the tool will generate the JSON-LD markup for you.
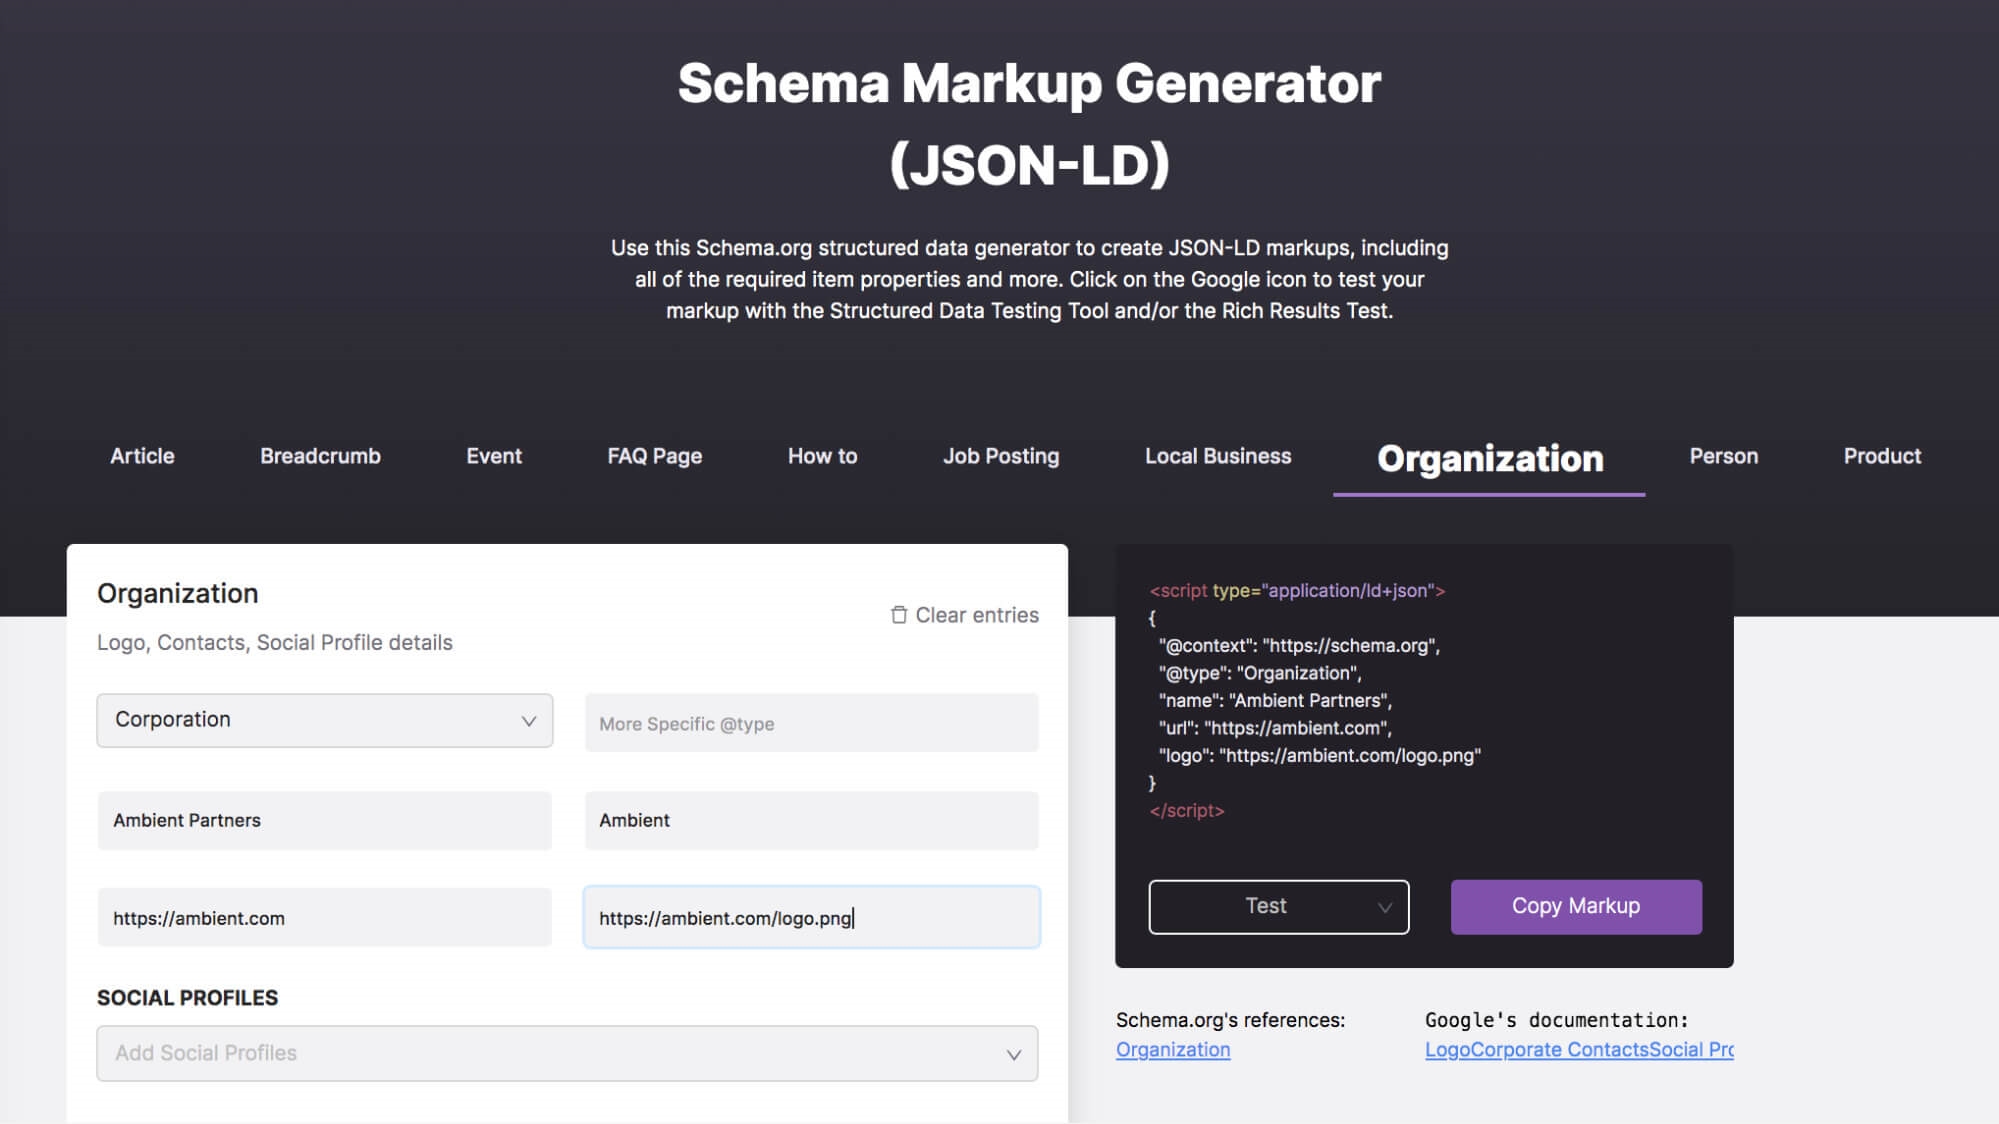 Schema Creator tool from linkgraph.io
- Copy and paste the markup into the <head> or <body> of your HTML page. Although there are older encoding types for schema.markup that can still be understood by Google, JSON-LD is now the industry standard and is arguably the easiest to implement.
Here is an example of how schema.org takes web page content and extracts the data for a rich result.
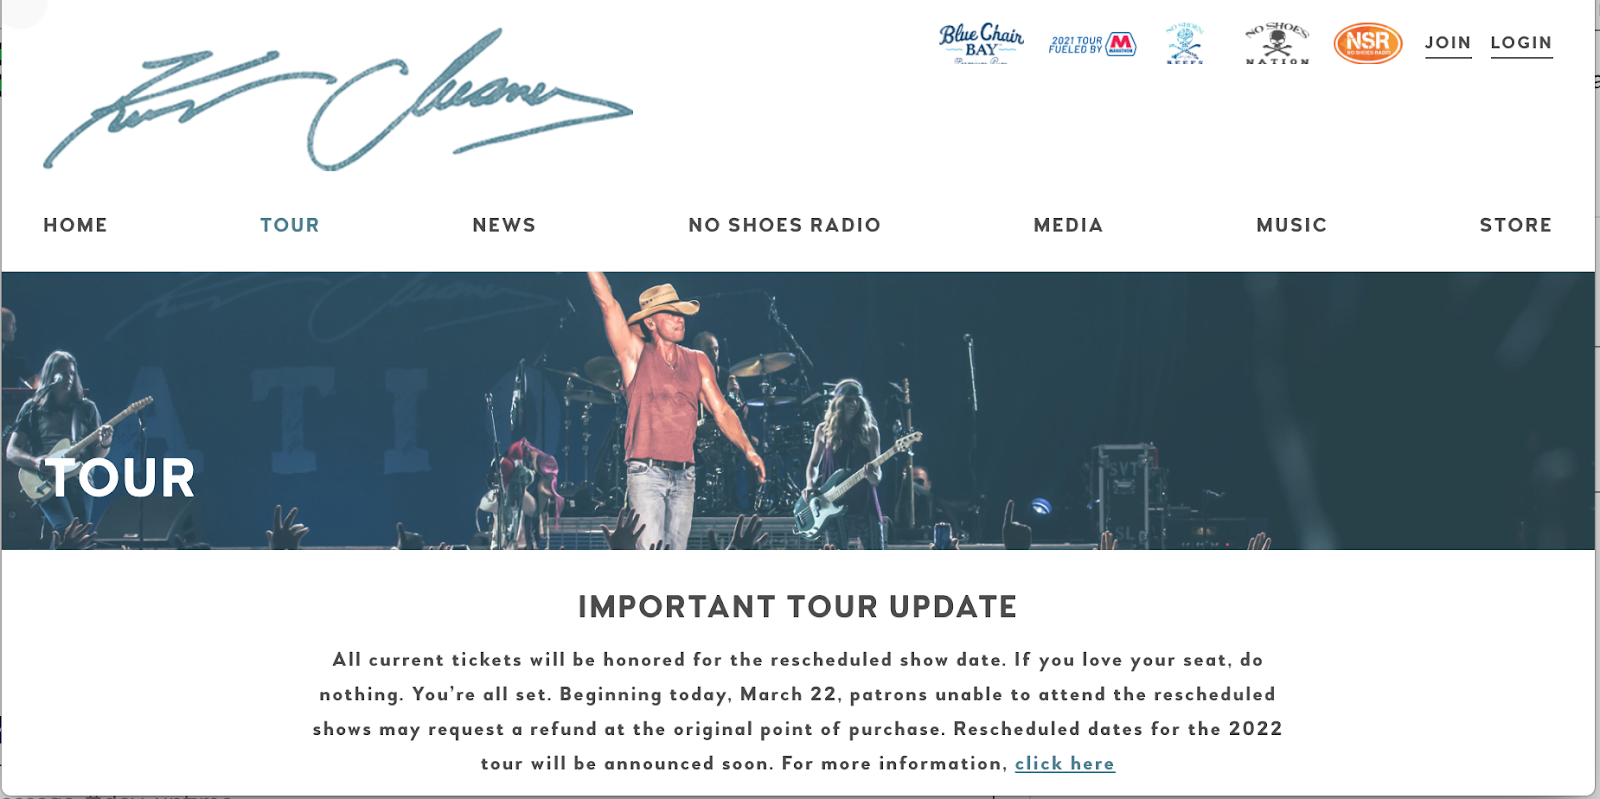
Frontend of a web page utilizing “Events” schema

Backend of the same web page utilizing “Events” schema with all of the required item properties in JSON-LD markup
 The same web page in Google’s rich results for the keyword “kenny chesney concert”
Driving organic traffic to your web pages is not just about ranking in Google, but also having them take action. Rich results are an easy way to improve the “clickability” of your content and to drive organic traffic to the most relevant information to their query.
Conclusion
The reality is, most site owners aren’t taking the additional steps to utilize advanced meta tags because they aren’t comfortable working on the backend of their websites. But with so many tools available to generate accurate meta tags and microdata, it doesn’t have to be an intimidating process.
Considering implementing a variety of these four.
- Robots (<meta name= “robots”>)
- Rel canonical (rel=”canonical”)
- Hreflang (rel=”alternate” hreflang=”x”)
- Schema (Shared Vocabulary of microdata)
If you want to take ownership of your technical SEO and give your best-performing web pages a competitive edge in the rankings, consider adding these meta tags and see how your rankings and conversion rates improve.
Digital & Social Articles on Business 2 Community
(61)
Report Post


