— December 18, 2017
Last week, I wrote all about the email blacklist. In this post (and possibly the next), it will be more about what companies can do to avoid spam penalties and protect their domain and business email accounts.
Once you’re on a blacklist and in the spam folder, it’s awfully hard to get out. Even worse, the domain (and likely your brand) will now be tied up in the mess of it. If this has happened to you, you’re not alone.
It all boils down to one simple technique and some “to-do’s” that surround its implementation.
The technique: Get a similar, yet different domain name for all of your outbound/cold email efforts.
You don’t have to send sales email from your main domain. Let’s take a look at the research on avoiding spam penalties and then set it all up step by step.
Protecting Your Business Email = Protecting Your Domain = Protecting Your Brand
Besides the obvious blacklist scenario, protecting your email is really protecting your domain. And, if you’re like most businesses, that’s the same name of your brand.
When people see your email, no matter how awesome it is, some will consider it spam. If it’s really pushing, someone may even report your email. Once the email account is flagged, the reputation of your domain is brought down. When this happens it can affect deliverability.
If your domain gets on a blacklist, it’s incredibly difficult to even get a decent web host — let alone build a positive online presence.
And that’s where these steps come into play. To protect your brand and keep you above the deep waters of email deliverability problems.

Step One: Set Up a Separate (but Similar) Domain
If you only do one thing, set up a new domain that’s similar to your current one to send the emails from. Ok, do the other things too. There are other ways to go about it from this point, but the domain is the most important step that can’t be altered.
Speaking of altered, let’s talk about your new domain.
Important: Not a subdomain. We’re not talking about getting a new.youdomain.com. Instead, try out some of these on for size:
- Add “get” to your current domain: Works great if you sell a product, like software. For example, we could have “getleadfuze”.
- Get a different extension: Is the .co or .cc available? Snag it and set it up. Very little change in the domain at all.
- Shorten the domain: Maybe you could use a shorter version of your brand name with the same extension. Instead of “leadfuze” we could do “lfuze” or similar variations.
- Use a fancy extension: About a year or two ago, dozens and dozens of URL extensions were released. Some of them are cheap, others are expensive (and valuable). Maybe that’s the best route.
Where to Research Your New Business Email Domain?
You’ll probably want to buy from your current provider, and that’s cool. That said, I love doing domain research on Domain.com. The layout is clean, they make suggestions, and list just about every extension imaginable.
Yep. I did a search on the homepage for the word “domain”. Just for fun and to get a couple screenshots to show you.
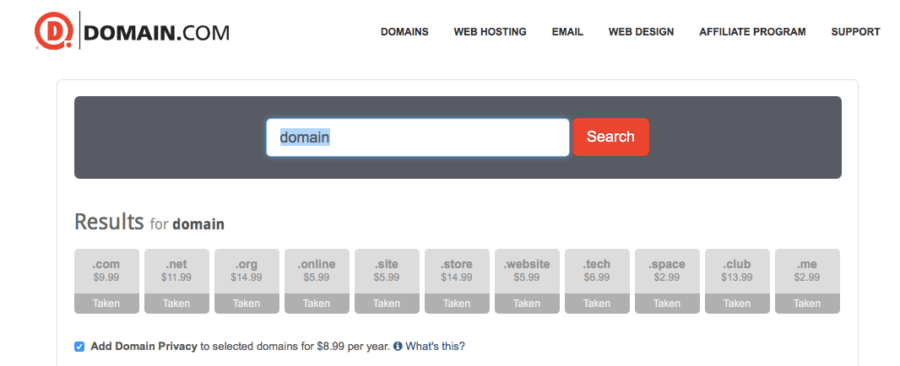
Obviously, those are all taken along with many of the new extensions. Now, here’s a screenshot of a few of the many many extensions.

Next, register your domain with your preferred registrar and set it up to forward traffic to your real domain. We’ve created a video of the entire process using GoDaddy right here. After that’s all settled, you’ll have to create the email account(s) to be used.
Once that’s done, you can proceed to step two.
Step Two: Create a Paid G-Suite Account
Setting up a separate email account (via G-Suite) helps with validation and credibility and (again) we recommend it to our clients.
You can start this process by going to gsuite.google.com (screenshot below).
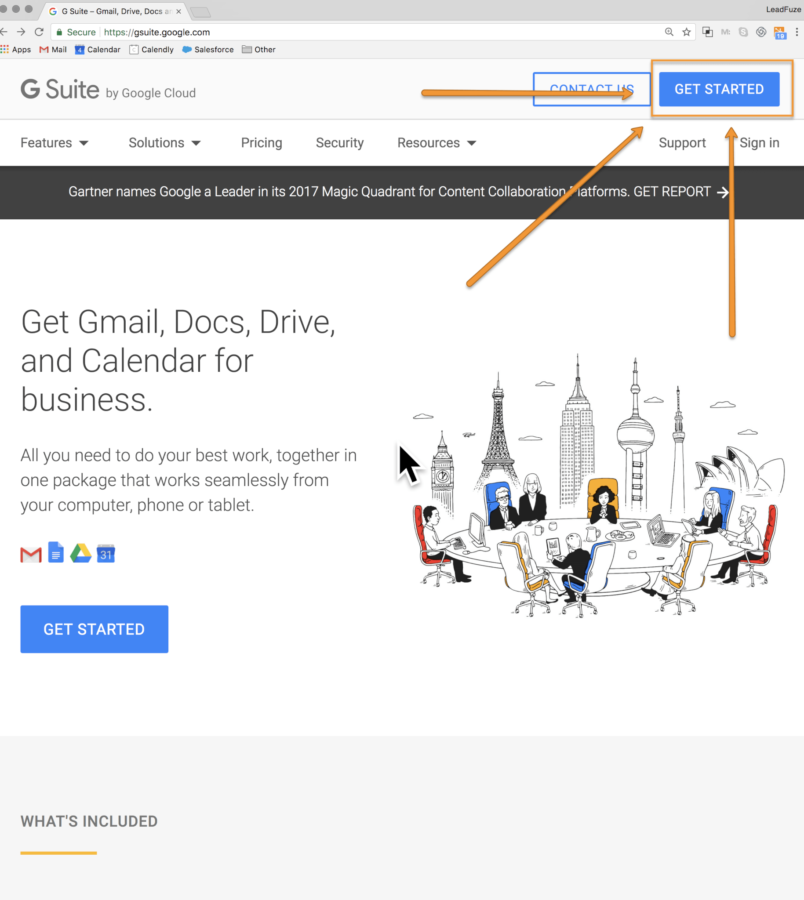
I could walk you through all of the prompts, but it’s only about 6-10 basic questions. And Google is known for making things uber simple and easy to follow along.
You will, however, need to know the new domain name.
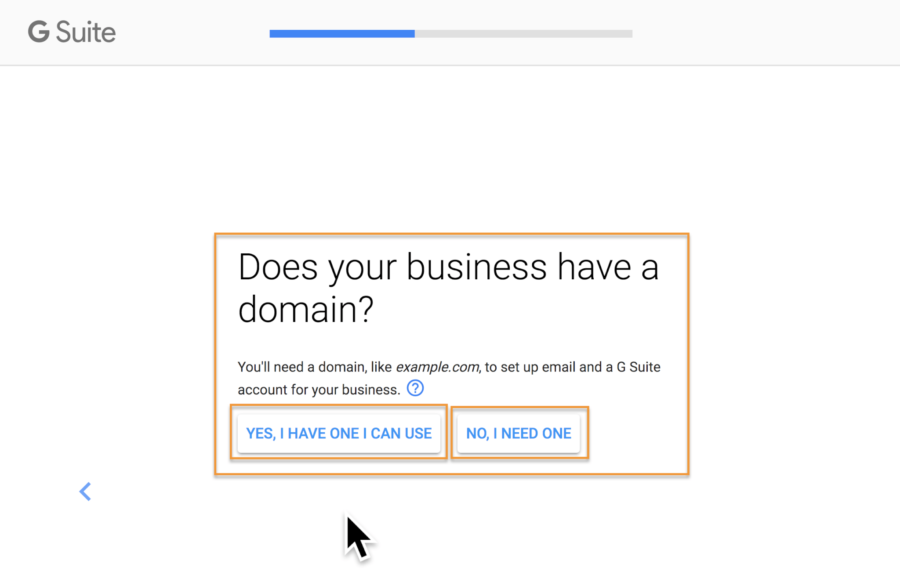
Followed by:
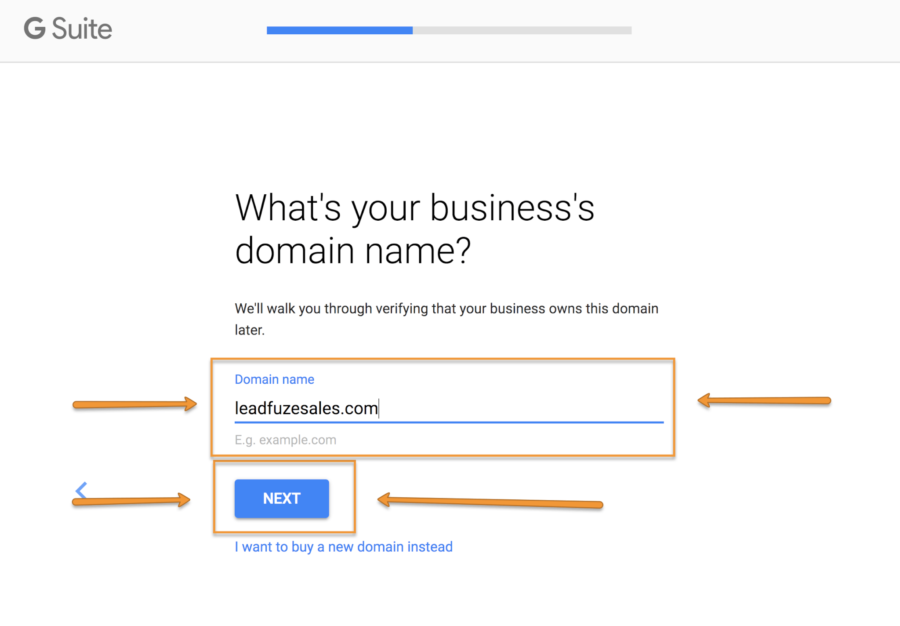
If you’d like a more in-depth tutorial to set this up, we’ve created a support page that you can take a look at with complete instructions.
What’s the Pricing?
As of right now, G Suite costs $ 5/mo per user for the basic package. Well worth it since Google is massive in the email space.
Advanced: Authenticate the Email
There are four main email authentication standards on the internet at large. They are:
- DKIM (DomainKeys Identified Mail): Essentially, DKIM ensures that the message hasn’t been altered in transmission.
- SPF (Sender Policy Framework): This one boils down to identifying the IP address and whether or not it should be sending emails for your domain.
- DMARC (Domain-Based Message Authentication, Reporting, and Conformance): Helps block fraudulent emails and is an extra authenticator to DKIM and SPF.
- rDNS (Reverse Domain Name System): This one helps computers identify one another and make sure things are on the up and up (I know, that’s a tough technical answer :).
You can get really in depth with all of this. Thankfully, the folks over at GlockApps have done just that. If you really want to dive into email authentication, they’ve put together a phenomenal guide to it all.
Don’t understand much of that and don’t want to? It’s ok. If you’re using G Suite (like we suggest), Google has provides fantastic resources to ensure your email is authenticated. They’ve created an easy setup guides to help g suite users.
Follow the prompts, get it squared away, and you’ll be doing really nice.

Step Three: Get Some Mail Coming In
If your new email account is a oone-waystreet (going out), it’s going to raise some algorithmic eyebrows—especially with the authenticators we just went over. But don’t just do it to avoid spam-watchers. Subscribe to some good things that you won’t mind reading.
Take a few minutes and subscribe your email outbound business email account to some inbound mail. Examples of this include:
- Business Newsletters
- Real (or Fake, depending on who you talk to) News Updates CNN, Fox, etc.
- Daily Tips and Guides
You can do this manually one by one, or to save time, use a couple of sites that give a list of lists. Startup Digest will make a lot of sense for most of our audience. You can (as the screenshot says) tailor your incoming content. Or, sign up to several things all at once.
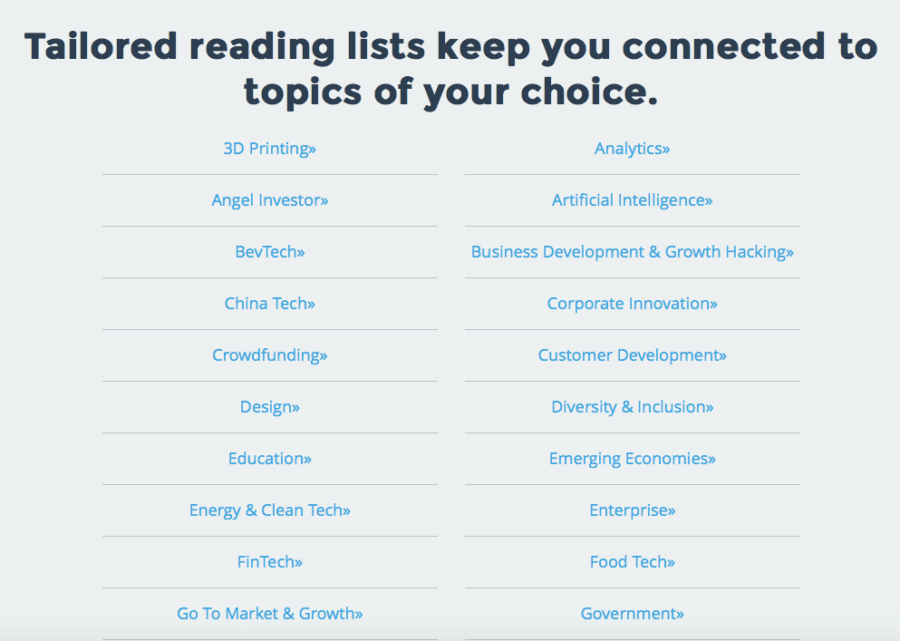
Another one for business-type things is MatterMark. If you’d like things that are more related to your products and not business, you may be able to find some good options via theSkimm. They’re definitely more broad in their selection of news.
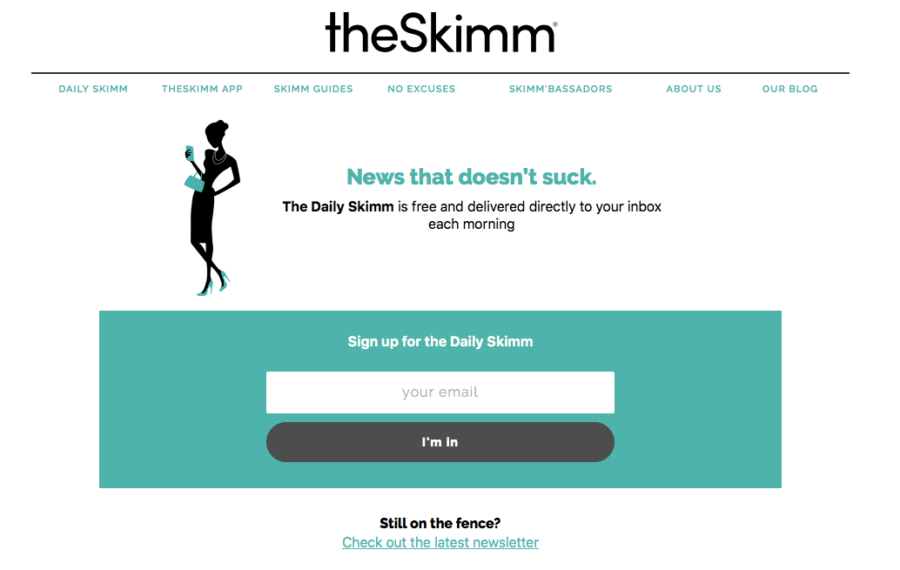
Get yourself on a dozen or more lists and you should be good to go.
Step Four (Optional): Forward to Your Primary Business Email Account
This is a quick one. If you’re a small crew, reaching out to a few hundred leads a week, it’s may be best to forward things into your primary email. We suggest doing so to most of our clients.
This way, every response will get guaranteed attention.
However, there could be a case made to just get notifications from this account directly. It would definitely be a way to keep the lead process separate from the other affairs of your normal inbox. Bigger crews that do a lot of internal emailing would almost certainly keep the emails separate. But it’s your call on this one.
Step Five: Start Sending Emails (Slowly)
You have your new domain, email accounts via g suite, and maybe even have the authentication squared away. You’re ready to send some emails.
But if you go too hard too fast, you could still end up in the spam folder.
We’ve put together a sample schedule (that we suggest to our clients) once you’ve gone through all of the previous steps.
- Week 1: Wait 7 days to send any emails from the new account. Take this time to sign up for inbound emails as outlined in step 3.
- Week 2: Send 10 new emails per day. Analyze results like deliverability and open rate along the way.
- Week 3: Increase output to 20 new emails per day. Analyzing results along the way.
- Week 4: Then 30 new emails per day. Analyze results along the way.
- Week 5: Bump it up to 40 new emails per day. Analyze results along the way.
- Week 6: Ramp up to 50 new emails per day. Keep analyzing.
You can continue to ramp this us as long as it doesn’t affect your metrics. We always suggest testing everything from email copy to the number of emails you send out per day, to the times those emails are sent out.
Important: Don’t Skip This Step!
Don’t think that once everything else is good, open the floodgates and send 1000’s of emails. The worst thing you can do is go through all this work and then ruin it by being a hotshot. You think you’re safe from all the bots and filters and…

Take our word for it.
We came up with these steps from our experiences, both good and bad. If you’re looking to send outbound business email—proceed with caution, get conversations, and close some deals.
Business & Finance Articles on Business 2 Community
(139)
Report Post