Tagging Facebook users in your nonprofit’s posted photos can be a simple way to increase the exposure and visibility of your content.
However, the user interface that governs Facebook can sometimes make it difficult for page managers to tag friends and fans – even if they are already engaged with your brand page.
Here is a quick guide to tagging human Facebook users in your brand photo posts:
There are two ways of going about this:
- enable and encourage others to tag themselves in your photos (and videos)
- tag others yourself
Both options have their advantages and disadvantages. Luckily, you don’t have to choose just one.
Allowing others to tag themselves in photos (and videos)
First, go to your brand page and click “Settings” in the top-right corner.
Then, select “Tagging Ability” from the rows of options.
Here, make sure that “Allow others to tag photos and videos published by ______” is checked. This will allow other human users to tag themselves in your post.
![]()
Now, you can simply reach out to those who are in your photos and videos and ask them to go to your page and tag themselves.
For example, if you just had an event, you could encourage people in your follow-up communications to visit your Facebook page and tag themselves in the photos you just posted.
This is a great way to gain implied permission for including them in your Facebook content – if they tag themselves, you can assume they’re okay with it!
Tagging people in photos yourself
If you’d rather not wait for others to tag themselves, you can take matters into your own hands. This process is a bit more convoluted, unfortunately.
1. Post your photo to your organization’s Facebook wall. Make sure that your brand, and not yourself, is selected from the little dropdown menu (up and to the right of the post creator).
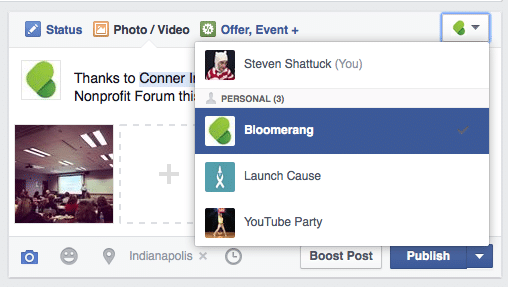
This will make the post come from your brand, rather than you yourself posting content to the brand wall.
Remember that little dropdown menu for later on in the process.
2. Click on that photo – you will be viewing the photo in “theatre mode”
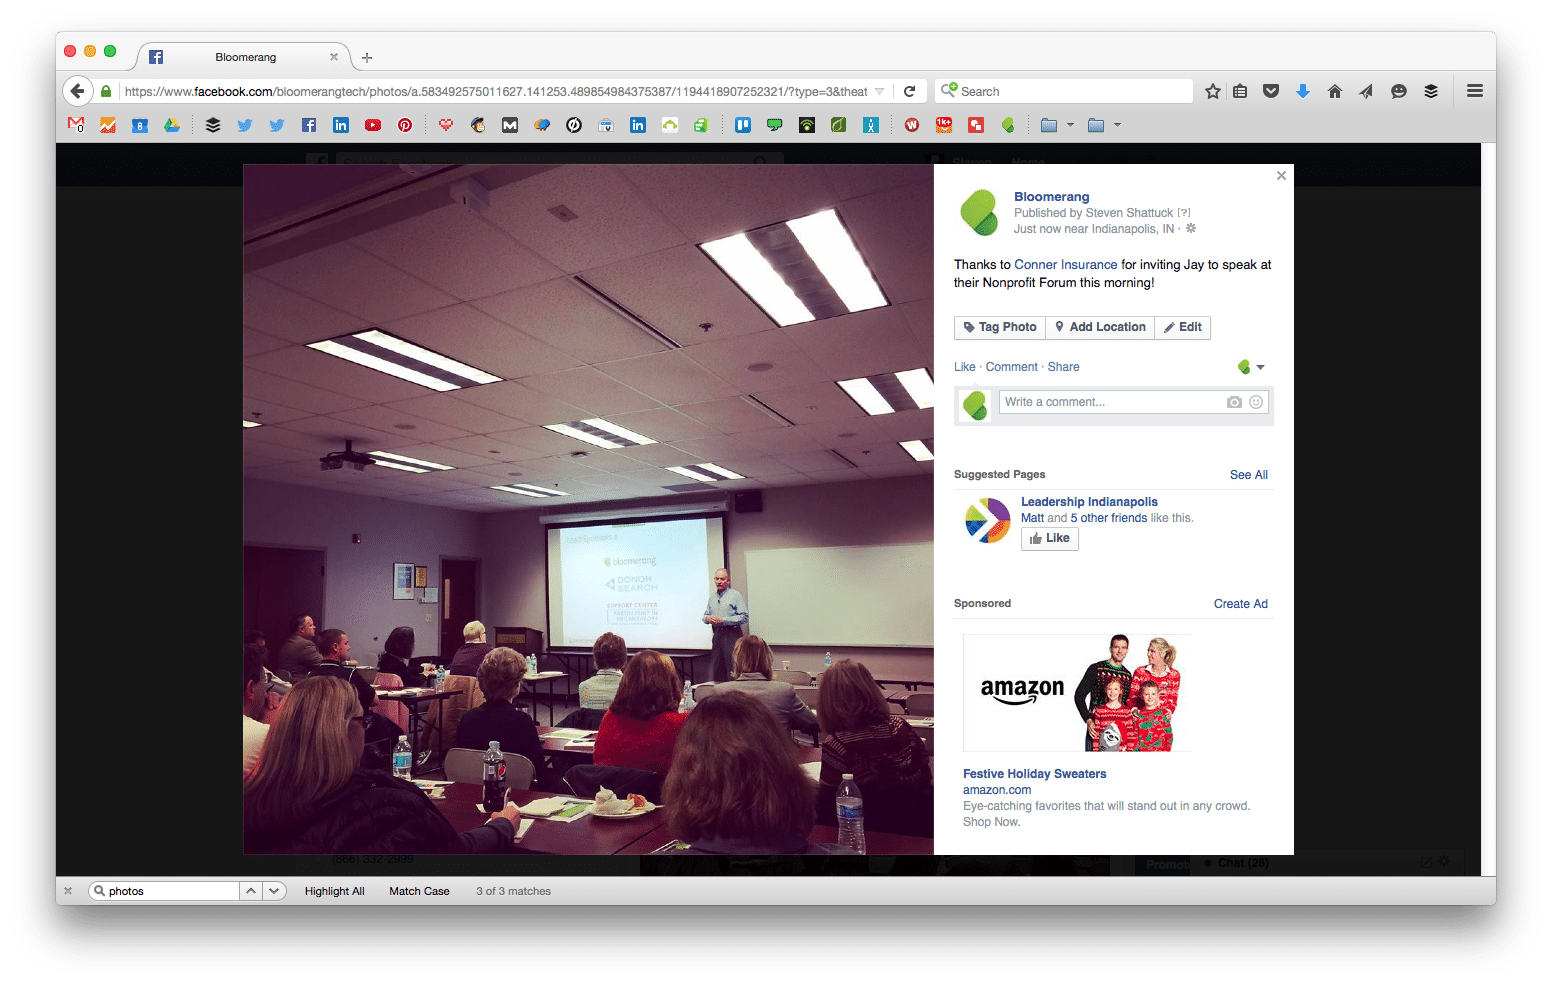
You can tell you’re in “theatre mode” by the dark shadow box around the post. The end of the URL will also end with “/?type=3&theater” (if you wish, you can simply delete that from the URL rather than refreshing).
3. Hit control-r or the refresh button on your browser to refresh the page – this will exit the theater view
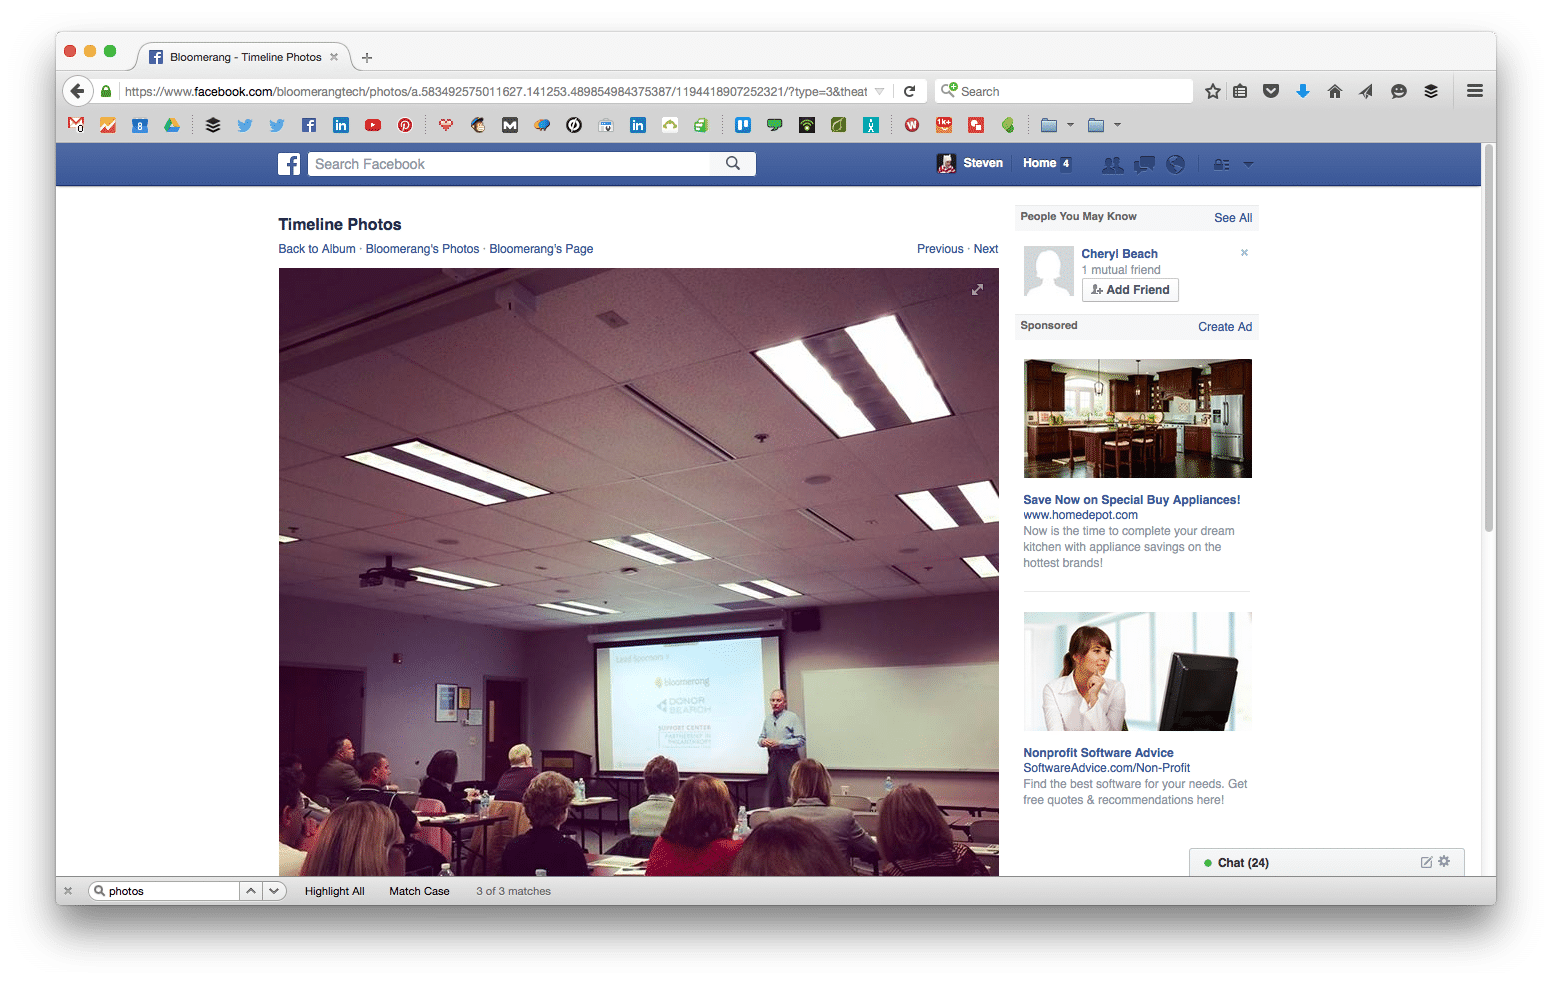
See the difference?
4. Scroll down and identify the little dropdown menu that has your brand logo on it. Click it to select yourself instead of the brand.
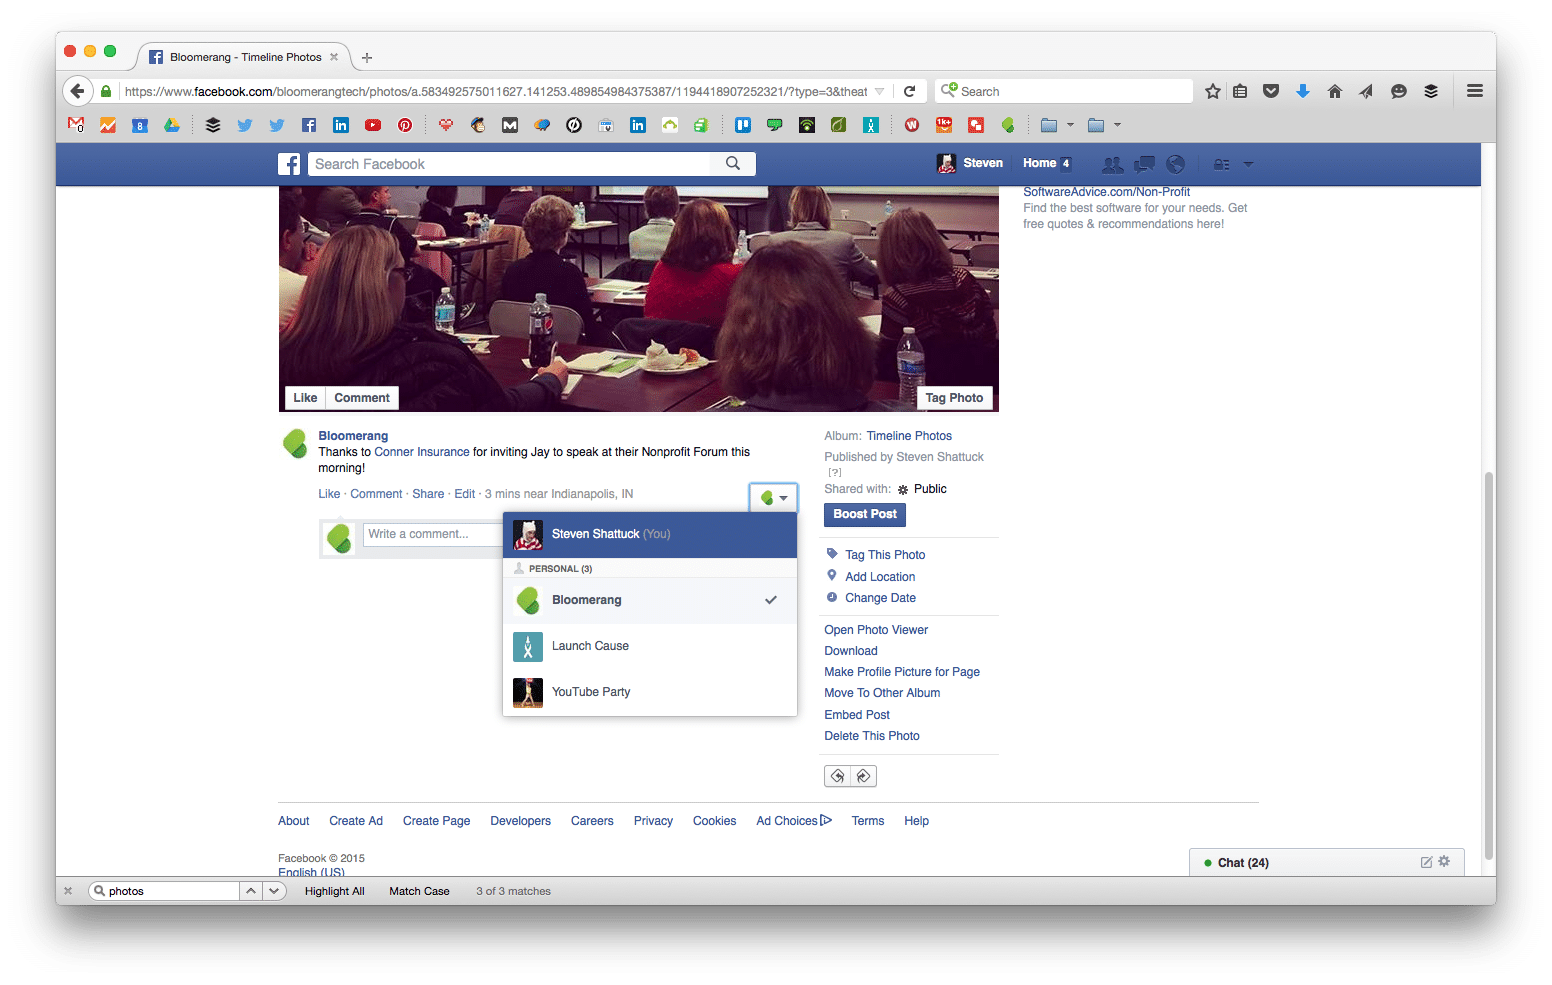
5. Click “Tag Photo” and select the face in the photo you want to tag. If you successfully switched to your personal account from the brand account, the list of taggable people will reflect your personal friends.
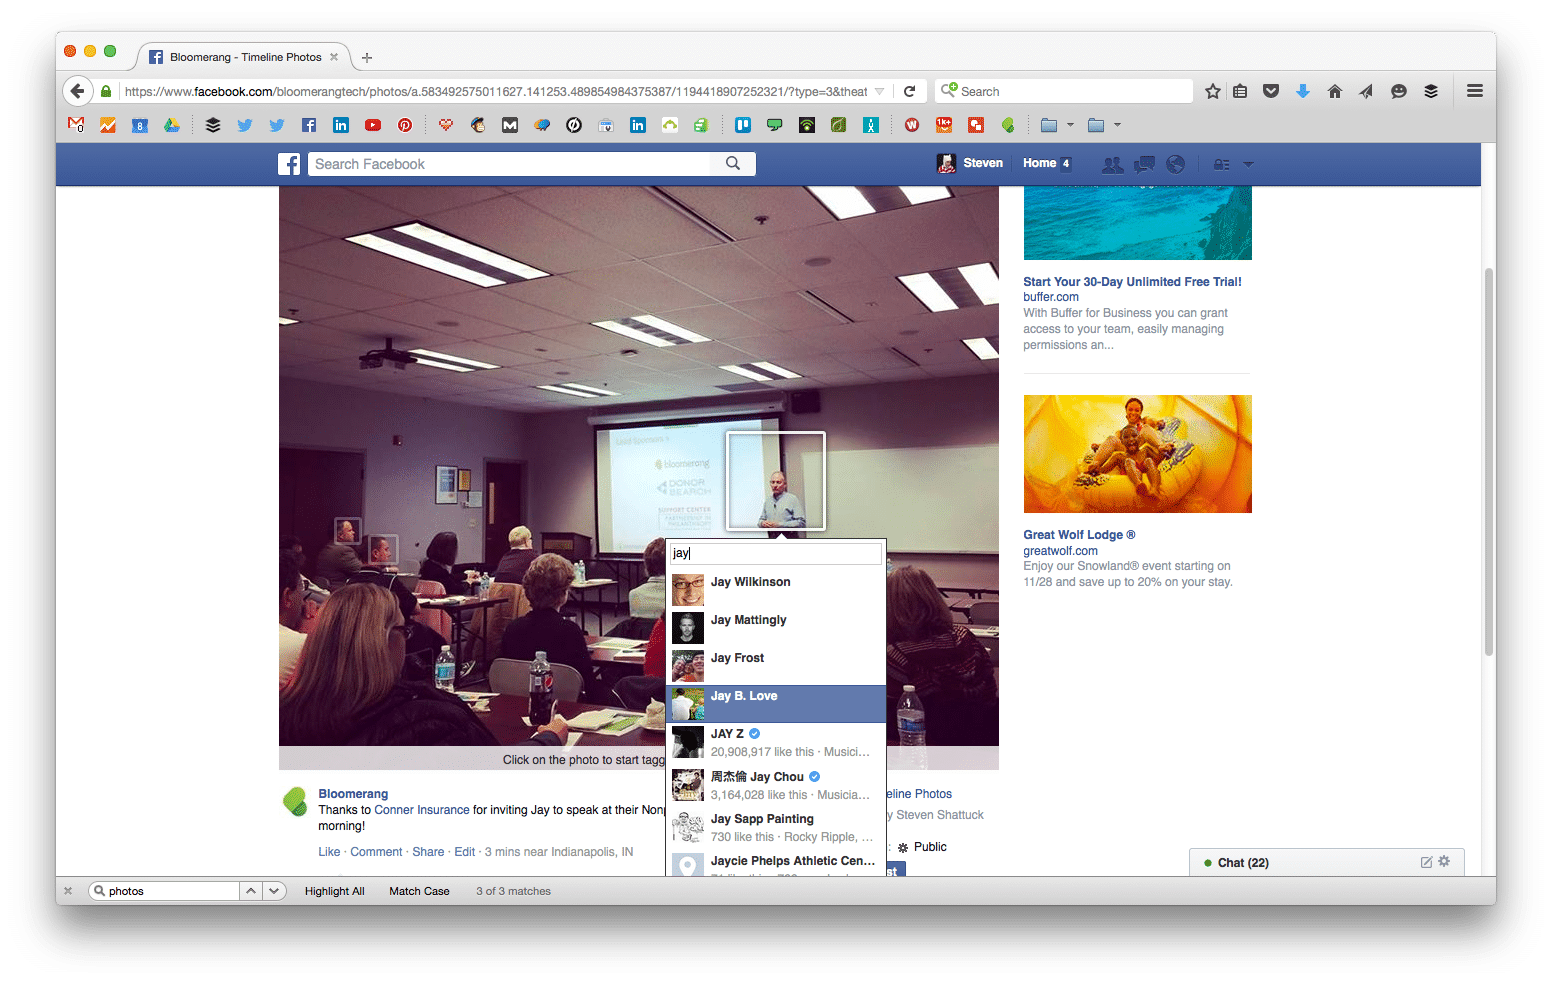
If you haven’t switched to using Facebook as yourself instead of the brand page via that small dropdown, the list of taggable entities may only be other brand pages, rather than human users that you are connected with.
6. Click “Done Tagging”
If they were successfully tagged, their name should appear next to the post text, as “with – (name)”

Depending on that user’s personal privacy settings, your post may now appear on their wall – effectively doubling its visibility!
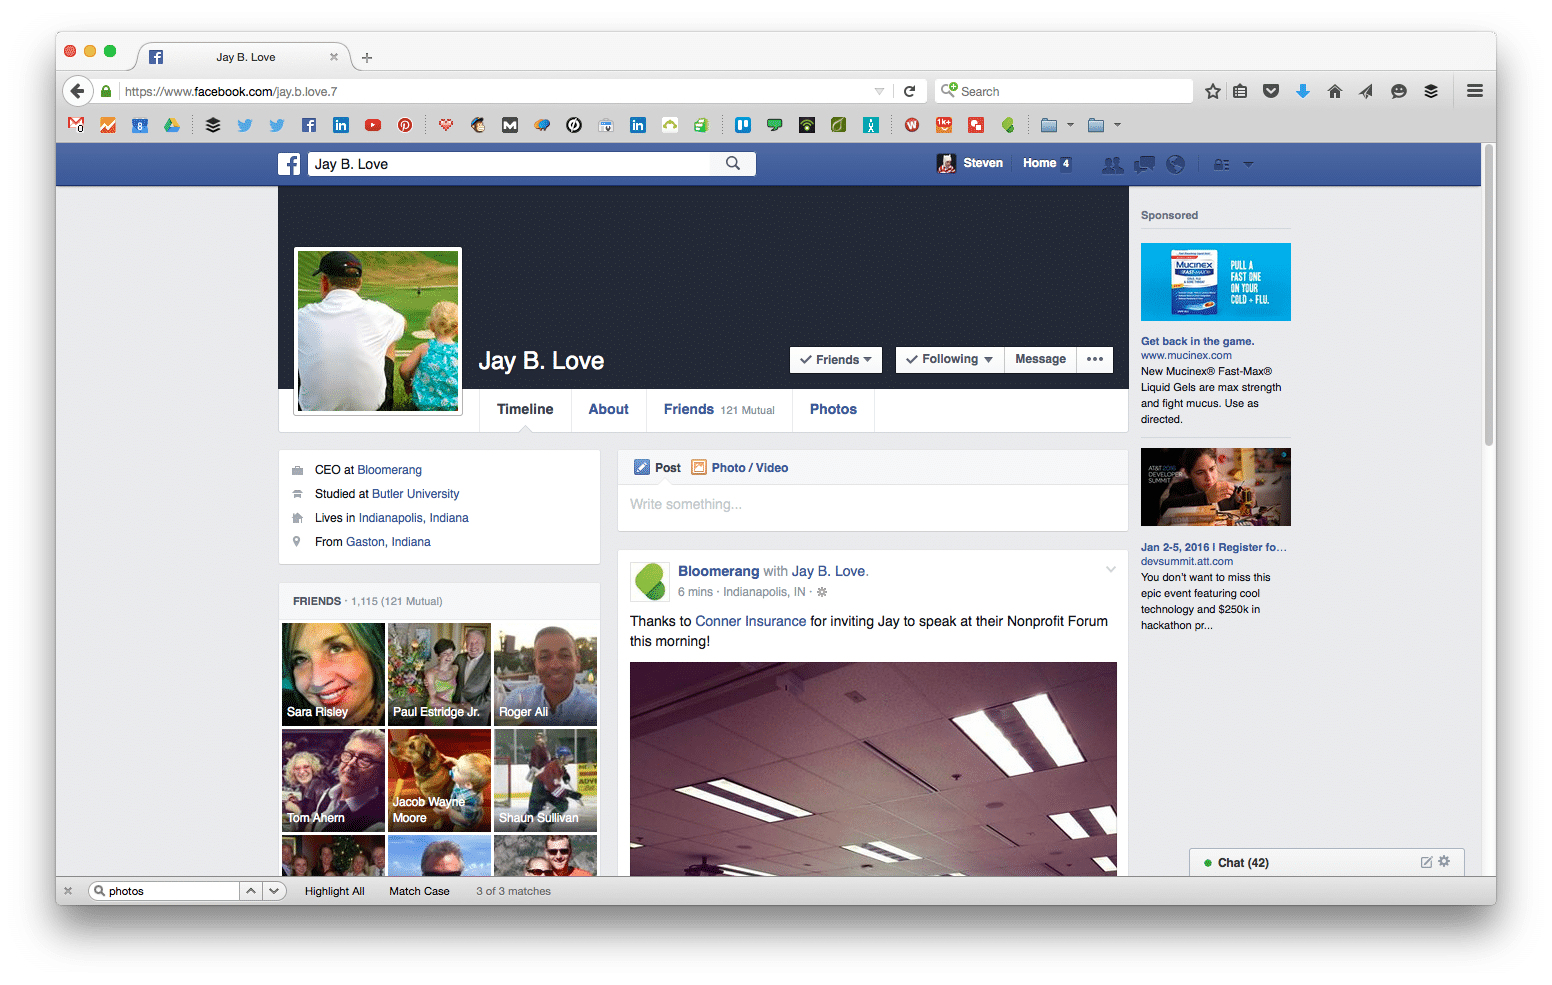
Be aware: a user’s individual privacy settings and whether or not they “like” your page, and whether or not you are friends with them can impact your ability to tag them from your brand page. This is one advantage to allowing and prompting others to tag themselves. Don’t be afraid to ask people to do so!
And if you go about tagging people yourself, be sure you’ve somehow let them know what you’re planning to do, or gotten their express permission.
Happy tagging!
Digital & Social Articles on Business 2 Community(102)
Report Post


