Many small business owners, entrepreneurs, and marketers love infographic template sites. Not only do they get professionally-designed layouts, but they get to enjoy the different fonts, objects, and hyperlinking features. While infographics are becoming some of the most in-demand content out there, there are also a few ways to use online infographic creation tools like Easel.ly for visuals other than infographics. This way, users of these tools can get the most bang for their buck.
Depending on your industry or what you use these tools for, there are a number of unique ways you can use them to:
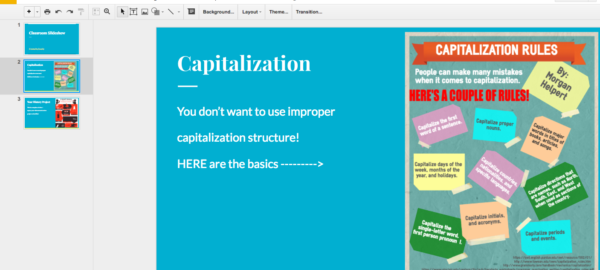
- Create slides for a presentation
- Make blog images
- Create infoproducts
- Generate email templates
- Make website images
- Résumés
Infographic templates are what allow users to create amazing visuals that share an idea, but it’s the other things you can create within these systems that can totally change your content game.
Slides
Are you a teacher and need to create slides to show your students?
Do you need to give a presentation at work?
Do you want to share your infographics on SlideShare or create a YouTube video?
Why not make slideshows? Simply use your infographic creation tool to generate an image, download that image, and then insert it into your slides? You are not limited to infographic images, either. You can use icons, text, charts, and more!

You also have the option of inserting your full infographic into your slide to expand on a point, or to incorporate visual elements into your slide so you don’t bore your audience to death!
Blogging
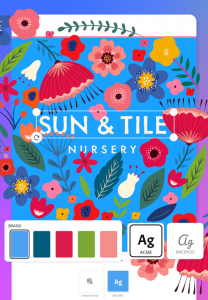
You already know the benefits of using infographics in your articles or blogs, but have you ever considered using your infographic creation tool to create blog headers or blog images that pique your readers’ interest?
While an infographic is a visual that shares information, a blog header is usually a graphic version of the title or the main point of the article. Studies show that bloggers who use graphics instead of plain font have higher readerships, more interaction, and more success overall.
If you want an in-depth article on blog images, read this great article via HubSpot.
Instead of using stock photos, which are generic and generally unappealing to most audiences, create your own images! This saves you money on stock photo prices and can prevent a copyright or intellectual property issue if you use someone else’s photography!
There are a few ways to do this:
- Create a blog header graphic

Blog header created using Easel.ly!
BONUS TIP: The recommended blog header size is 1600×400.
- Create pop-out images throughout your text

On average, blog images range from 500×500 to 650×650. You can make yours shorter if you want!
This is a great way to attract attention to major points as your readers scan your content!
Infoproducts
Are you a teacher and need to create a visually dynamic homework packet for students?
Do you own a small business and need to create product manuals?
Are you hoping to create a media kit?
Do you want a unique layout for your next ebook, webinar, or e-course?
- For teachers:
You can create information packets with the “Start Fresh” or “Blank Template” option in your creation tool, or you can use templates to create worksheets! From there, simply download as a PDF and insert the collected PDFs into your preferred software to print!
BONUS TIP: You can even make tests visual!

Feel free to customize this image!
- For products or services
This user-generated image highlights how well you can use infographic creation tools to describe your products or services in a succinct way:

Depending on the structure of your product or service, you could show icons that represent the steps or components. You can also show a timeline of events if you need to highlight the process!
Really, the sky is the limit when it comes to visualizing your products or services!
- For media kits or sales information
A media kit is essentially a downloadable kit that you can create to improve your lead qualifications. People who are interested in your services or product can download the packet, get a thorough idea of your services and what you offer, and decide if they want to pursue contact.
You can create a media kit much like slides and simply download the slides into a PDF document! This is a great timesaver and makes you look so professional! The user-generated image below shows the important information about their business, which would make a great end-page for your media kit.

- Covers and templates
Want to make an ebook cover?
Want to have a downloadable worksheet or resource for your users?
Do you offer lots of free content and want to streamline your creation process?
Infographic creation tools are also a great resource for establishing a template set. Simply create an image that you like and, if you want to create another one similar, there is generally a “Copy” or “Duplicate” button that you can use to duplicate your image without compromising it!
You can create templates for ebook covers, worksheets, or free content the same way you created slides and blog headers: use the “Start Fresh” or “Blank Template” function.

Email Templates
Are you sick of that boring, plain text email you send to your clients, students, or coworkers? You can use your infographic creation tool to generate unique graphics and email templates that include the body of your email. You can use templates (like the one below) or “Start Fresh”!
You can insert the image as your email body or include it as an attachment! This is a great way to retain subscribers – it’s unique and fun. Read more here about how you can use infographics in your email campaigns.

Website Images
Extensive website copy is going the way of the dodo bird. Well, maybe not that extinct, but it’s much less impressive now than it was even five years ago. If you have a website and want to really retain visitors, you need visuals!
You can create unique graphics using your infographic creation tool that you can place throughout your website and use in lieu of web copy.
One great example of this is from a garage door repair company who created a homepage image that explained everything in a visually dynamic way:

You can also “Start Fresh,” upload your own images, and change the font to create awesome website images. These website images get scanned by Google and social media sites and help to index your content and site faster! Just make sure that you:
- Properly format images so they aren’t too big
- Include alt tag and title tags in your Media library
- Embed the photos so they lead people back to your site!
Résumés
If you want to stand out to an employer, what better way than to start with your résumé? There are quite a few templates for you to start with, or you can incorporate smaller icons and objects into your regular word processor résumé!

This is a template you can customize here!
Keep it clean, keep it simple, and download it as a PDF. That way, when you apply for jobs, you can either attach the PDF in the application website or in the email! What a great way to start a new career, right?
Don’t Limit Yourself
One thing becomes clear when you use these tools to their optimal abilities: “The sky is the limit.” Really, you can create any sort of images you need, improve upon previous creations, and create amazing visual content. Whether you’re a teacher, small business owner, blogger, entrepreneur, or just a really big fan of unique graphics – you can do it all with one tool.
When you use these simple infographic tools like Easel.ly, you can even use your own fonts, find even more templates, and thousands more icons and objects. Essentially, these tools can become your one-and-only unique graphic source – no need to have dozens of different accounts to pay for, websites to visit, or different tools for different types of images. Use these tools to their fullest and benefit from great visual content that gets shared and helps you grow your brand or business!
Digital & Social Articles on Business 2 Community(114)
Report Post