Prototype Design – How to Make a Product Prototype

Developing a new product is an exciting experience. Creators and innovators get to experience the joy of creating something from nothing and turning an idea into reality.
However, before you go into large-scale production, you need to start with a prototype.
Developing a prototype will help you address potential issues with the product, create the specs, and even attract investors to bring your concept to fruition. Here are the four main stages of creating a product prototype.
Create a Sketch
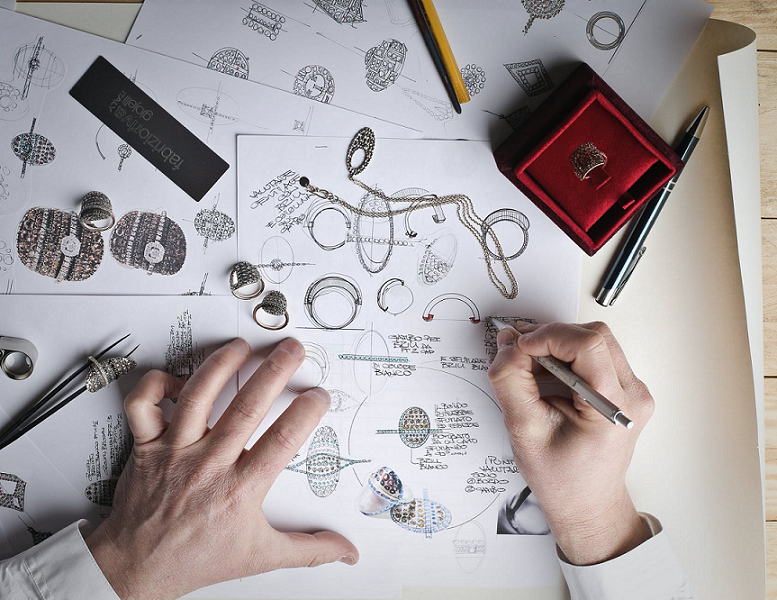
The first step in creating a product prototype is to get the idea out of your mind and onto paper. Whether you’re developing Ponoko ideas for your small, independent business or creating a future household name with a professional design team, there’s a significant difference between picturing an idea in your mind and making it tangible. Creating a sketch will help your team conceptualize your design. Additionally, this process will highlight any potential opportunities or pitfalls you were unable to visualize during the ideation process.
Start with a simple sketch that outlines the shape and functionality of the product. The first draft doesn’t have to be elaborate— a general idea is fine. If your drawing skills are limited, consider working with a designer to bring your concept to life.
Create a Digital Model
The next step in creating a product prototype is to create a digital model. Many innovators see this step as optional, but there are benefits to turning your sketch into a virtual design before proceeding. This exercise will help you streamline your specs before creating a physical prototype. It will also simplify the process if you’ll be using 3D printing to create your physical prototype.
Again, consider working with someone who’s experienced in creating digital renderings for this process.

Create a Physical Prototype
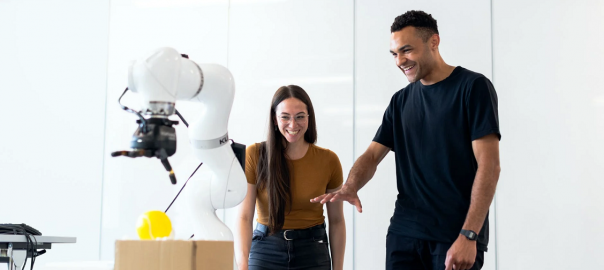
The next step is to create your physical prototype. Again, this is a rudimentary model, not a production-ready design. This is the model you’ll use to secure a patent and pitch investors. It will help you start honing in your research to determine potential production costs and help validate your idea through market research.
Keep in mind that a physical prototype doesn’t have to be fully functional; it just has to prove that your concept will work. Hence the term “proof of concept.” At the very least, your prototype should showcase the idea behind your product, what sets it apart, and what you need to bring it to market.
Create a Manufacture-Ready Model
Creating a manufacture-ready model is the final step in the prototyping process, but you might find yourself repeating it a few times. During this phase, you’ll be able to work out any final design challenges and learn to navigate the manufacturing process.
It’s worth bringing in a manufacturer before you develop the manufacture-ready model. A knowledgeable expert can help highlight any considerations with the physical prototype before you invest more time and money in making a production-ready model.
With these simple steps, you can create a product prototype that validates your idea, shows proof of concept to investors and patenting agencies, and creates a strong foundation for production.
About the Author: Wendy Dessler

Outreach manager
Wendy Dessler is a super-connector who helps businesses find their audience online through outreach, partnerships, and networking. She frequently writes about the latest advancements in digital marketing and focuses her efforts on developing customized blogger outreach plans depending on the industry and competition.
From San Diego, California
(161)
Report Post


